Before Enrolling Your Basic Cell Phone
- Have your charged cell phone with you.
- Have access to a desktop or laptop computer with an internet connection.
 The enrollment process starts from your laptop or desktop computer.
- You can enroll more than one device in the enrollment session.
Enrolling a Basic Cell Phone with Duo Device Management Portal
1.  Log In to CalNet
- From the CAS login screen (ex: https://bpr.calnet.berkeley.edu/account-manager/login/auth),
2. Access the Device Management Portal
- A 2-Step prompt will appear after you enter your CalNet ID and passphrase.
- If you are automatically logged in and the 2-Step prompt is bypassed, try either clearing cache/cookies or using an incognito browser
- At the bottom of the page, select Other Options

- Under your list of existing devices, select Manage Devices

- Complete a 2-step verification using a registered device or saved passcode

3. Add Your Device
- Once authenticated, you will arrive at the Duo Device Management Portal. Your existing devices will be listed.
- Select Add a New Device

- Select Phone Number

- Enter your device’s phone number including area code. Example: (201) 555-5555.
- Select Add phone number
- Verify that your number is correct and select Yes, it’s correct


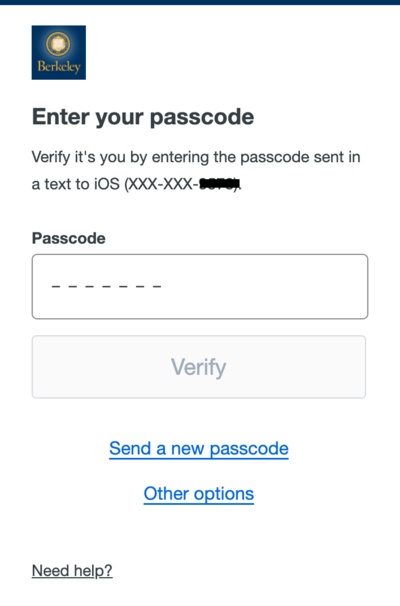
- Confirm ownership of your phone number by selecting Send me a passcode
- You will receive a text with a 6-digit passcode that you will enter in the box to verify your device


- A green check mark will pop up to confirm that your call phone is linked to your account. Click Continue

Enrollment Completed!
Congratulations! You’ve successfully enrolled your smartphone. Now when you log in to campus systems, you will be prompted for a second-step verification.
Using Text Passcodes to 2-Step
- Log in to your CalNet account with your usual credentials

- When you are prompted to do a 2-Step, Text message passcode will show up if it is the default 2-step choice.
- If it is not the default, when prompted to enter your credentials, select Other options. You will be taken to a page with other verification options. Select Text message passcode.
- Then, check your cell phone for a text message with a single use passcode and enter it in the field, and press verify.